Mastering Duo Mode in Free Fire: Top 5 Strategies for Booyah!
May 10, 2026
13 min read
Duo mode is where individual skill meets coordinated teamwork, and the players who understand that difference are the ones winning consistently. Unlike solo, where every decision is yours alone, and squad, where four players spread responsibilities, duo mode demands precise synchronization between exactly two players.
When your partner goes down in duo mode, you instantly lose half your firepower and half your coverage. There is no safety net of three remaining teammates. Every decision you make, from where you land to how you heal and when you push, directly impacts whether your duo survives to the final circle.
These five strategies cover the areas that actually determine duo win rate: consistent landing, communication, healing efficiency, character synergy, and adaptive playstyle. Apply all five, and your results will show it.
Compete on ZP Battle Zone
Apply what you just learned
Join 35,000+ Pakistani players competing in live Free Fire tournaments every week. Verified results, fair play, organized competition.
Strategy 1: Land Together in One Consistent Location
Why Landing Consistency Wins Matches
The most common reason duos lose before the mid-game is a bad landing. Either they scatter too far apart, drop into a compound with five other teams, or keep switching spots every match and never build familiarity with any location. All three problems share the same fix: pick one drop zone and commit to it across multiple matches.
When you drop in the same place repeatedly, you start memorizing loot spawn patterns, escape routes when things go wrong, and the typical paths other squads use to leave that area. That knowledge gives you a real advantage over any duo landing there for the first time. Familiarity with your drop zone is a competitive skill in itself.
How to Execute the Landing as a Duo
Both players mark the same compound before jumping. Once on the ground, split the buildings: one player takes one side, the other takes the opposite. Call out your weapons as you loot. Regroup within the compound within the first sixty seconds. This keeps you close enough for immediate backup while covering the maximum loot area without leaving either player isolated.
Landing Zone Options Based on Playstyle
If you want high-risk, high-reward action, Clock Tower and Power Plant in Bermuda are the right choice. Expect two to four other duos landing alongside you and enough loot to come out well-geared if you win the early fights. These spots sharpen your close-range mechanics fast.
For a more balanced start, Mill and Observatory give you solid mid-tier loot with far less early congestion. You typically face one other duo at most and have time to fully gear before rotating. This is the best zone type for duos that want to practice rotations and positioning.
Edge locations like Shipyard and Farm offer the quietest starts. Traffic is low, loot is sufficient for both players, and you have maximum time to prepare before encountering enemies. This suits duos who want to focus on final-circle strategies and zone reading rather than early-game mechanics.
Strategy 2: Use Compass Coordinates for Every Callout
Why Vague Callouts Get You Killed
Saying there is an enemy over there or behind that building is useless information when your partner is looking in a different direction. By the time you clarify, the fight has already started on the enemy’s terms, and you are reacting instead of controlling. Precision callouts are what separate coordinated duos from random pairs.
The Three-Part Callout Formula
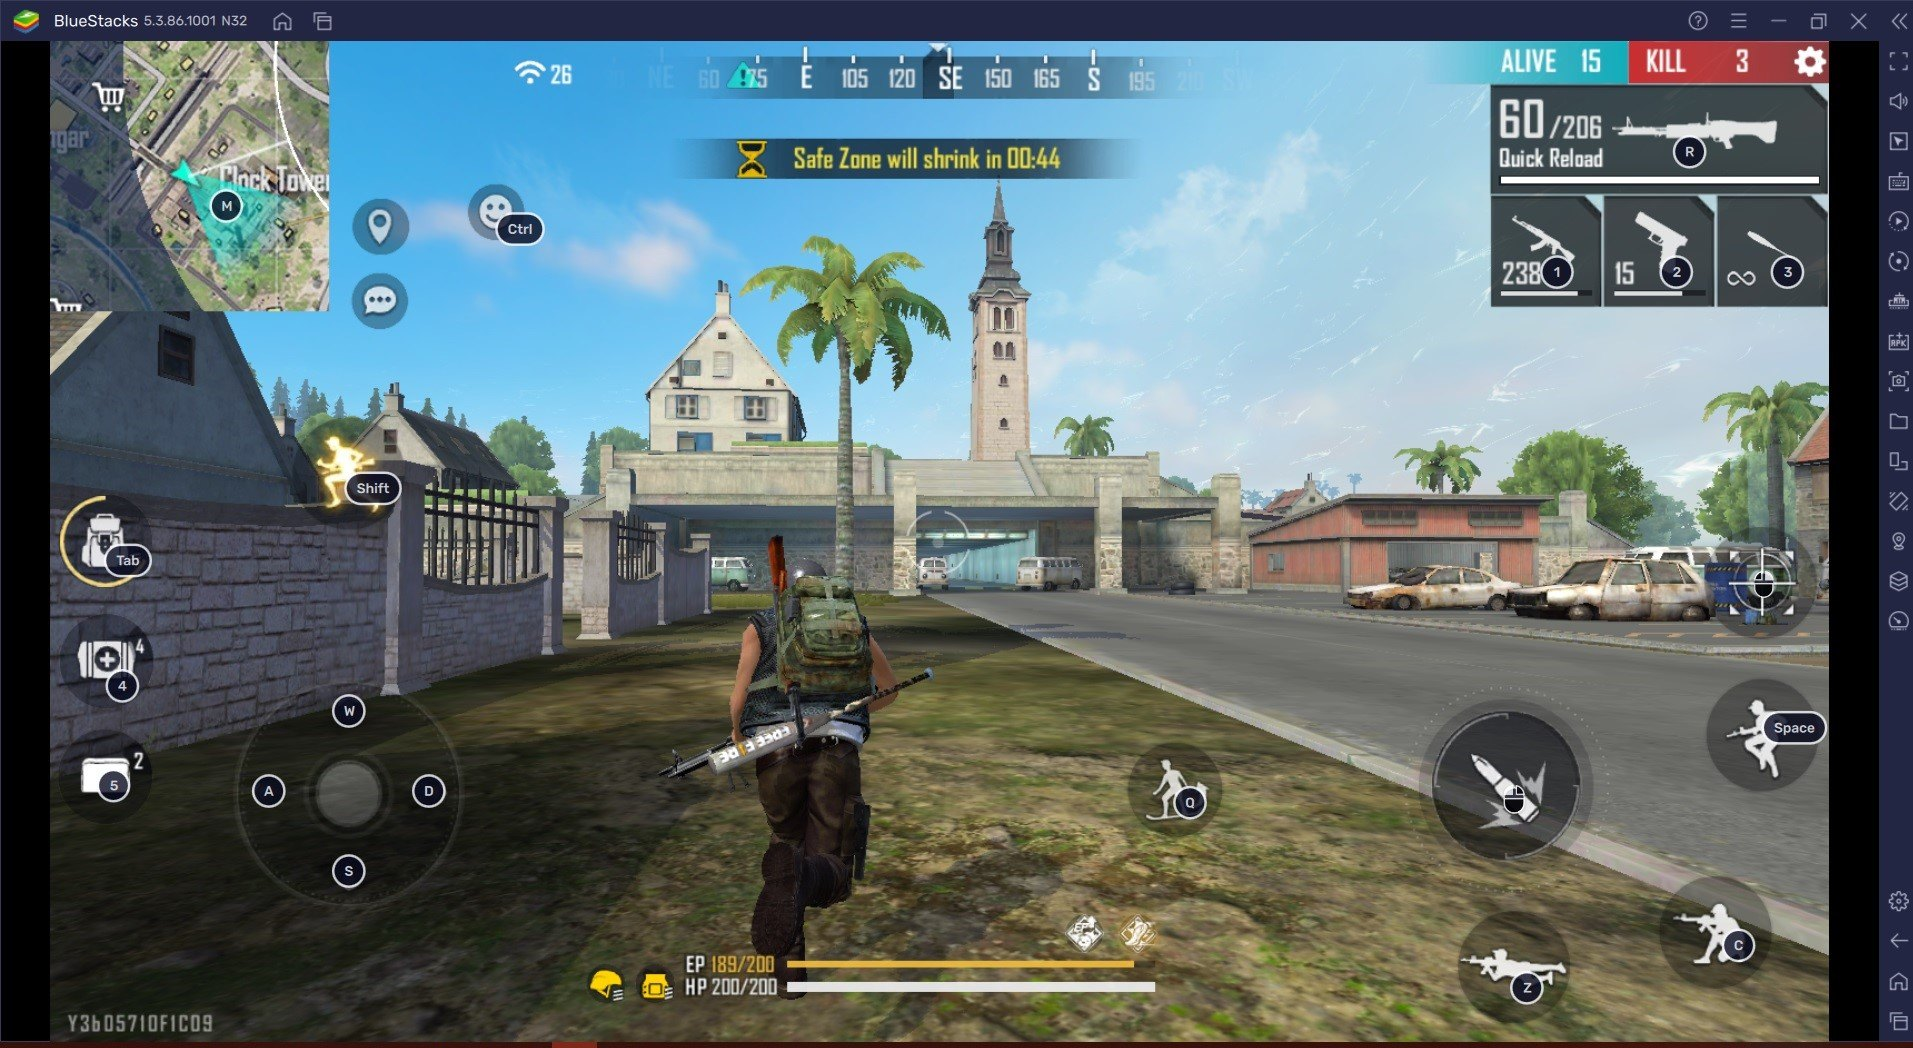
The compass at the top of your screen shows degrees from 0 to 360. Every callout in a coordinated duo should use it. A clear callout follows three components:
1.The compass degree.
2.The estimated distance in meters.
3.And what the enemy is positioned behind.
A complete callout sounds like: one duo, 270 degrees, approximately 80 meters, behind the two-story yellow building. Your partner now knows exactly where to look before they even move. Practice this format until it becomes automatic during every rotation and engagement.
How to Build Compass Awareness
During every rotation in training mode or classic matches, call out landmarks, buildings, and vehicles by their compass direction. Do this even when there is no threat. By the time you are in a ranked match, it becomes automatic, and your communication in real fights becomes precise enough to set up crossfires and flanks that disorganized duos simply cannot counter.
Strategy 3: Maximize Healing Efficiency and Smart Revivals
Use the Treatment Gun to Conserve Medkits
The Treatment Gun is the most underused tool in duo mode. Most players leave it on the ground in favour of a secondary weapon and then burn through medkits during every fight. The Treatment Gun transfers health directly from enemies to your teammate, which means it lets you save your medkits for the situations where nothing else works, typically the final circle when you have no time to fully recover between fights.
Pick up the Treatment Gun whenever you find one and treat it as a priority item over a redundant weapon type. Use it after winning a fight to top up your partner without spending a medkit. This practice keeps both players close to full health consistently and leaves your medkit supply intact for the final zones.
The Simultaneous Heal and Revive Technique
When your partner is knocked out, and you need to revive them, activate your own first aid kit before you begin the revive. The healing animation runs in the background while the revive animation plays. Both are complete at roughly the same time, saving three to five seconds compared to doing them sequentially.
Those seconds matter enormously in duo mode because the revive window is exactly when enemy squads push. A third-party that arrives mid-revive will always have the advantage. The simultaneous technique cuts that vulnerability window significantly and keeps you healthier entering the fight that follows.
When to Revive and When to Hold
Not every knockdown should be revived immediately. If there are active enemy angles on your position with no gloo wall cover, starting a revive gets you killed without saving your partner. The correct sequence is: place gloo walls, throw smoke if available, confirm no active threats, then begin the revive. Reviving behind solid cover is always better than reviving quickly in the open.
Resource Sharing Rules
Always share resources after a revive. If you are carrying more than six medkits, drop the excess for your partner. If you have eight or more gloo walls and your partner has none, drop half. Balanced healing items across both players means the duo can sustain independently if you are ever separated during a rotation.
Strategy 4: Build Character Combos That Cover Each Other’s Gaps
Why Character Synergy Matters More in Duo Than Squad
In duo mode, two players need to cover all the roles that a four-player squad distributes: healing, damage, mobility, information gathering, and utility. Running identical characters wastes passive skill slots and leaves critical gaps in your team’s capabilities. The goal is for both players to fill different roles so that together you have everything a match requires.
The current meta in Free Fire centres on DJ Alok, Chrono, and Skyler as the three anchor characters. Any duo combo built around at least one of these has a strong foundation. Alok’s Drop the Beat heals and boosts movement speed simultaneously, making it the most universally useful active skill in the game. K provides continuous EP-to-HP conversion through his passive, which keeps health topped off between fights without spending medkits.
Aggressive Duo Combo
Player one runs Alok as the active skill for the healing aura, combined with Jota, Hayato, and Moco as passives. Player two runs Chrono’s Time Turner as the active skill, which creates a damage-blocking shield large enough to protect both players, combined with Skyler, Kelly, and K. This setup covers healing, damage amplification, movement speed, shield protection, and enemy tracking simultaneously.
The aggressor role goes to the player with Alok since the aura pushes the duo forward while healing. The Chrono player provides shield cover on entry and breaks enemy gloo walls with Skyler’s ability. This combination dominates hotdrop scenarios and is the right choice for duos that want to control the early game.
Defensive Ranked Combo
For ranked grinding and final-circle survival, player one runs Chrono combined with Dimitri, Moco, and K. Player two runs Alok combined with Skyler, Kelly, and Kapella. Dimitri creates a ground healing zone that benefits both players during extended fights. Kapella amplifies all healing items and revival speed. Moco tags enemies with damage, revealing their position on the map for both players.
This combination trades some early aggression for significantly better endurance in the final two circles. It is the right choice for ranked duos whose goal is high placement over kill count and who want a character setup that performs consistently across different zone scenarios.
The One Rule That Always Applies
At least one player in every duo must run a primary healer as their active skill. Alok, Dimitri, or K are the three options that qualify. A duo without a reliable healing active skill runs out of sustain in the mid-game and cannot win extended final-circle fights regardless of how well they position. This is non-negotiable in the current meta.
Strategy 5: Adapt Your Playstyle to Each Phase of the Match
Why Playing the Same Way Every Phase Costs Booyahs
Pure aggression burns healing items and gloo walls too early, leaving you resource-depleted in the final zones when the fights are hardest. Pure passive play keeps you alive but with minimal kills, low rank points, and no information about where the remaining duos are positioned. Winning duos adapt their playstyle based on which zone phase the match is in.
Early Game: Controlled Aggression in Zones One and Two
After landing and looting, your early-game goal is to confirm your gear, eliminate one nearby duo if you have the advantage, and begin rotating to your mid-game position before the first zone closes. Do not chase extended fights across the map in the first two zones. Prioritize armor, weapons, and healing items over kill count.
A duo that enters the mid-game at full health with four medkits each is in a significantly better position than one that has three kills and half their resources depleted. Gear first, kills second.
Mid Game: Selective Engagement in Zones Three and Four
Only take fights where you have a clear advantage. High ground over the enemy, better armor than what you can see, or a third-party opportunity on a duo already in a fight are all valid reasons to engage. Avoid neutral fights at even gear where both duos are at full health, and neither has a positioning edge.
Rotate along the edge of the safe zone using natural cover rather than through the center. Let other duos burn resources fighting over central compounds. Arrive at your final-circle position with your gear intact and your health full.
Late Game: Position Overkills in Zones Five and Six
In the final circles, your priority is securing a defensible position with hard cover before engaging anyone. A compound, a ridgeline, or a cliff face with cover on three sides puts you in control of the final fight. Let the remaining duos fight each other. Engage the survivor when they are healing or looting after their fight, not while they are at full combat readiness.
This is how most final-circle Booyahs are actually won. Not by rushing every fight, but by arriving at the last exchange with the most resources, the best position, and the clearest information about who is left.
Bonus: The Gloo Wall Door Block Technique
How It Works
When pushing enemies inside a building with multiple doors, use a gloo wall to completely seal one entrance before your duo enters. Both players then focus fire on the single remaining open door. The enemy cannot escape or flank from the blocked entrance, which forces them into a predictable position and eliminates their ability to create a crossfire against you.
The Crossfire Variation
Player one places the gloo wall on the rear door and holds the front. Player two flanks from a side window or secondary entrance. The enemy is now dealing with threats from two separate angles while their exit is sealed. This technique converts buildings from contested fights into controlled eliminations and is one of the most practical advanced plays available in duo mode.
Common Duo Mode Mistakes to Stop Making
Splitting Too Far Apart
Once you are more than 50 metres from your partner, backing each other up in a fight requires precious seconds of repositioning. Stay within support distance at all times unless you have a specific tactical reason to separate briefly. Most duo eliminations happen because one player was out of range to help when it mattered.
Not Sharing Resources
If one player is carrying ten medkits and the other has two, the duo functions at half effectiveness the moment a fight starts. Balance your resources after every engagement, not just after revivals. A duo where both players are equally supplied is always more dangerous than one where all the healing is concentrated on one side.
Reviving Without Cover
Every time you revive in the open, you are betting that no enemy sees you for the full revive duration. Use gloo walls before you revive every single time, regardless of how quiet the zone seems. One enemy who spots you mid-revive in the open ends both of your matches simultaneously.
Changing Landing Spots Every Match
Inconsistency prevents you from ever building the map knowledge and loot familiarity that makes a drop zone truly safe for your duo. Commit to one zone for at least twenty matches before you consider switching. The learning curve on a new zone takes time to pay off, and inconsistent players never get far enough into that curve to benefit.
Pre-Match Duo Checklist
Before the Match Starts
▸Confirm your landing zone and building assignment before the plane takes off.
▸Verify your character combos cover healing, utility, and damage between both players.
▸Test the voice communication quality before the match starts.
▸Agree on your playstyle approach for the session, whether aggressive or placement-focused.
During the Match
▸Use compass-based callouts for every enemy sighting throughout the match.
▸Use gloo walls every time before starting a revive.
▸Share excess medkits and gloo walls after every engagement.
▸Adapt your playstyle at each zone phase rather than playing the same way from start to finish.
After the Match
▸Review the biggest mistake from the session and agree on how to correct it in the next match.
▸Track your placement trend across sessions to measure whether the strategies are working.
Duo mode rewards the pairs who communicate precisely, share resources consistently, and adapt their approach as the match evolves. Every Booyah in duo is earned twice over because both players had to make the right decisions at the same time.
Start winning more. Build your duo system today.
These five strategies work best when applied together as a complete system, not in isolation. Pick one landing zone this week and commit to it for twenty matches. Add compass callouts from the very first game. Explore our full guides on the best Free Fire character builds for every role, map-specific rotation paths for duo play, and sensitivity settings that sharpen your reaction speed when it counts most. Your next Booyah is already in progress.